Generate and edit an image
Choose image output when you need a visual result rather than a written description. The available image models, reference-image support, sizes, and editing controls depend on the account and selected model.
Generate a clear first image
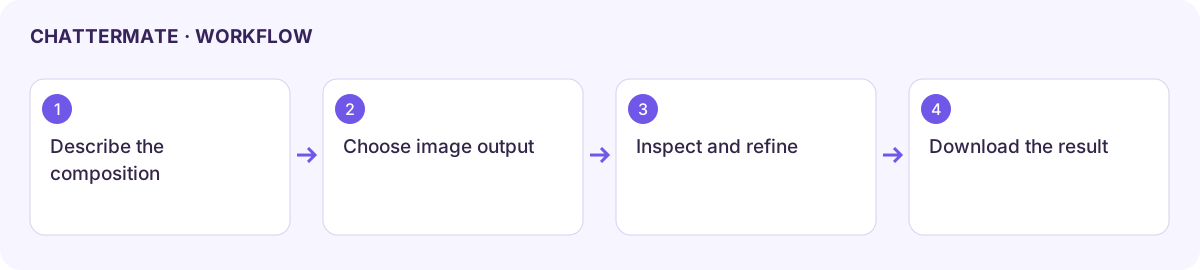
Section titled “Generate a clear first image”- Start a chat and choose the available Image output or image-creation skill.
- Describe the subject, setting, composition, style, and intended use. Add an aspect ratio when the interface supports it.
- Send a focused request, such as “A square illustrated poster of volunteers planting a community garden, with space at the top for a heading.”
- Wait for an actual image artifact, then open it in Canvas. Check details, text, crop, and consistency with the request.
- Ask for one revision at a time and name what to preserve. Keep the earlier result if you need to compare versions.
Use a reference or editing workflow
Section titled “Use a reference or editing workflow”Attach an image you have permission to use when the chosen model supports references. Say whether it supplies identity, composition, colours, or the exact image to edit. Specify the change directly: “Keep the layout and colours; remove the extra chair.” If no editing control is available, do not assume that a text follow-up will preserve every pixel.
Save and verify
Section titled “Save and verify”Find the image in Library, inspect the available download action, and open the saved file. Confirm its dimensions, background, and readability at the final display size. A visually transparent-looking checkerboard can be part of the image; inspect the actual file when transparency matters.
If you receive a description instead of an image, check the selected output and model capability. For a failed generation, retain the error and simplify the request before retrying.
Workflow at a glance
Section titled “Workflow at a glance”